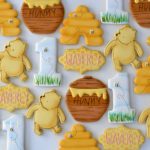
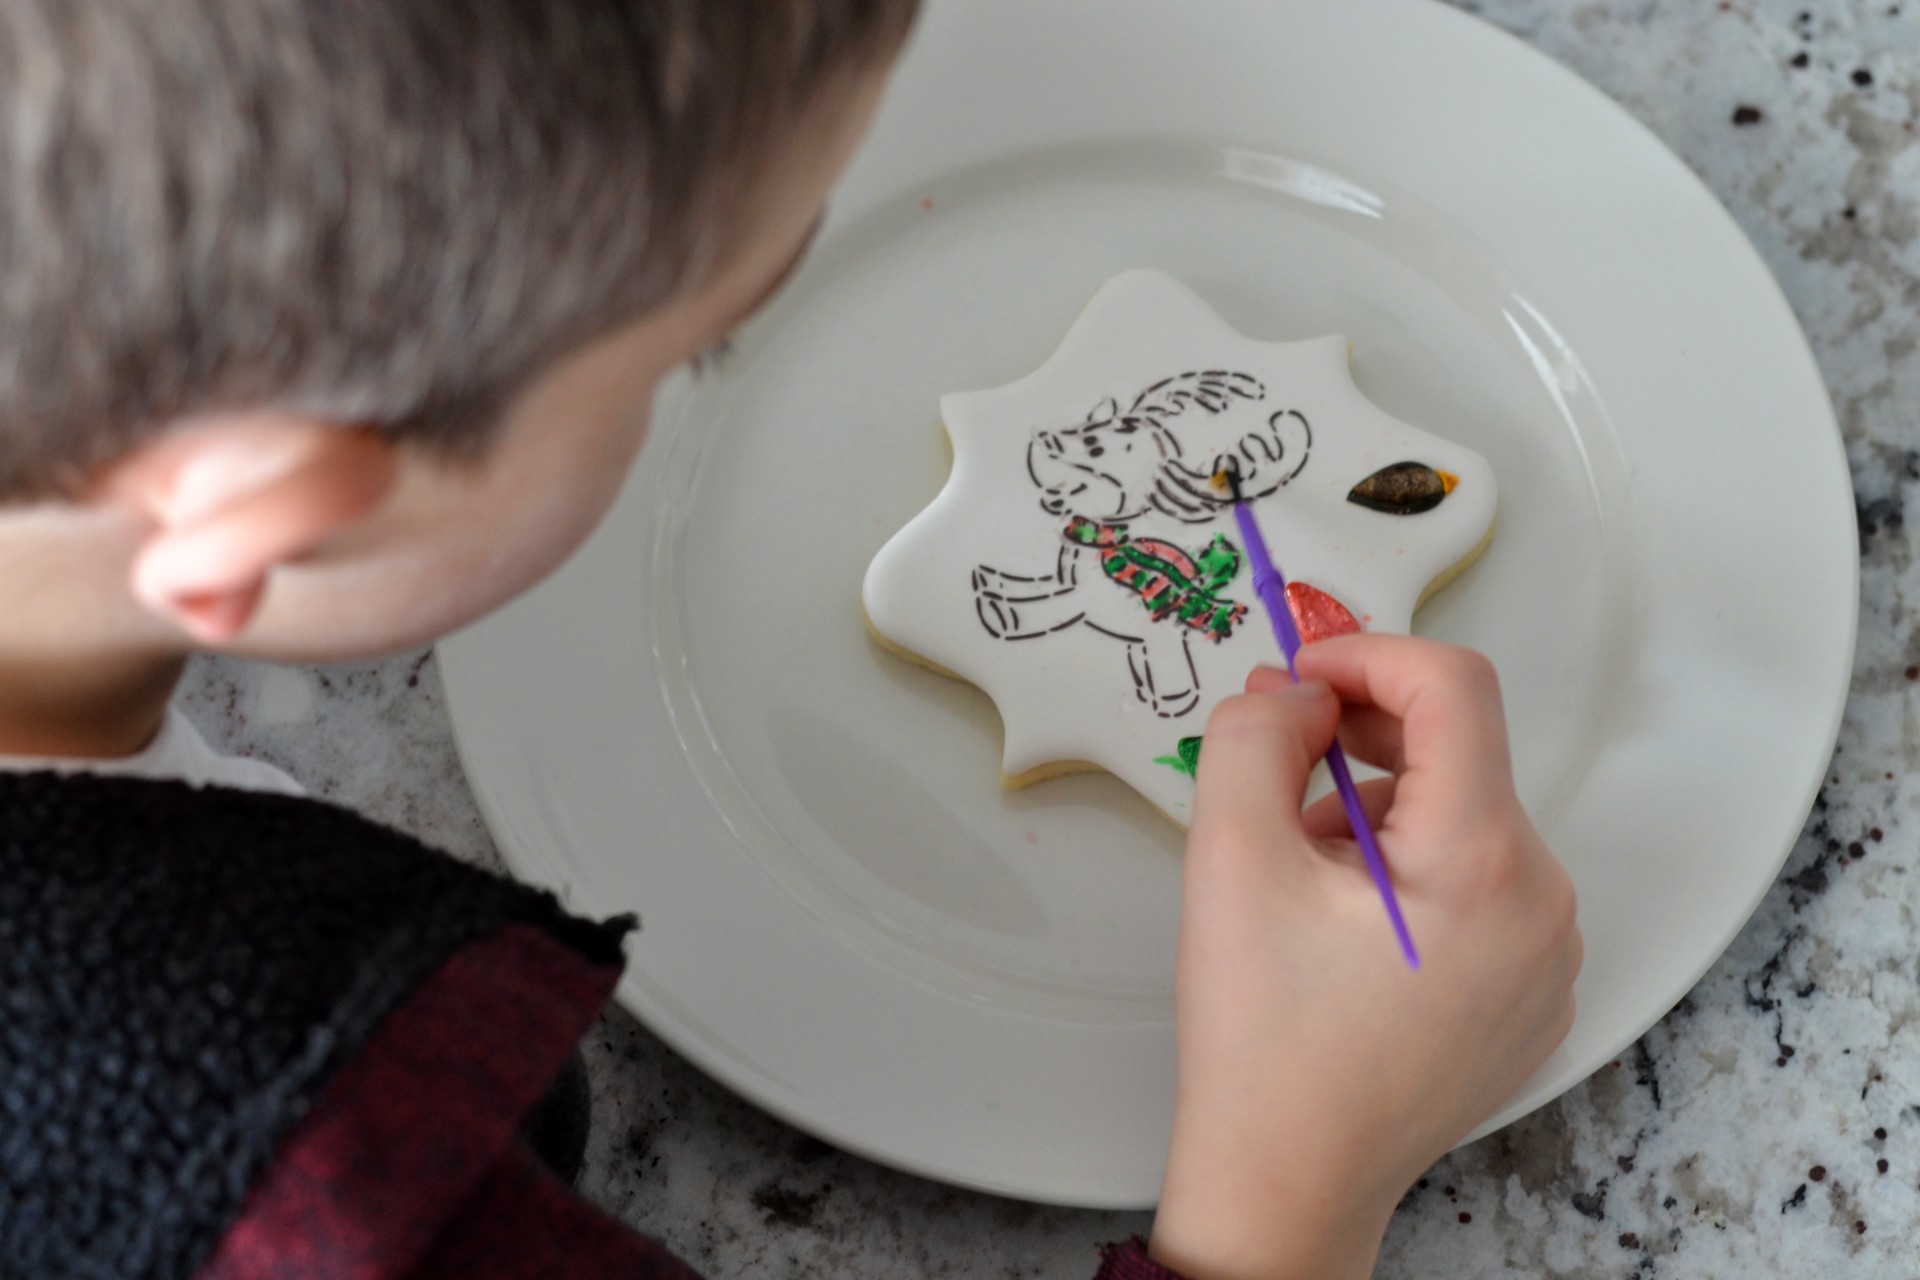
These were very popular this year and could be recreated in so many themes to fit any holiday! Kids love them and they are much faster to decorate than a multi-color cookie. My cookies are 4″ in size and I sold them for $5 each. They are heat sealed in a bag with the little paintbrush, so all the customer needs is water! Here’s how I made them:
Supplies needed:
Large Cookie (in any shape)
White Royal Icing, Egg yellow royal icing
Piping bag
Piping tips #3 and #1.5
Black Candy Melts or Black Royal Icing
Airbrush Food Color-in desired colors
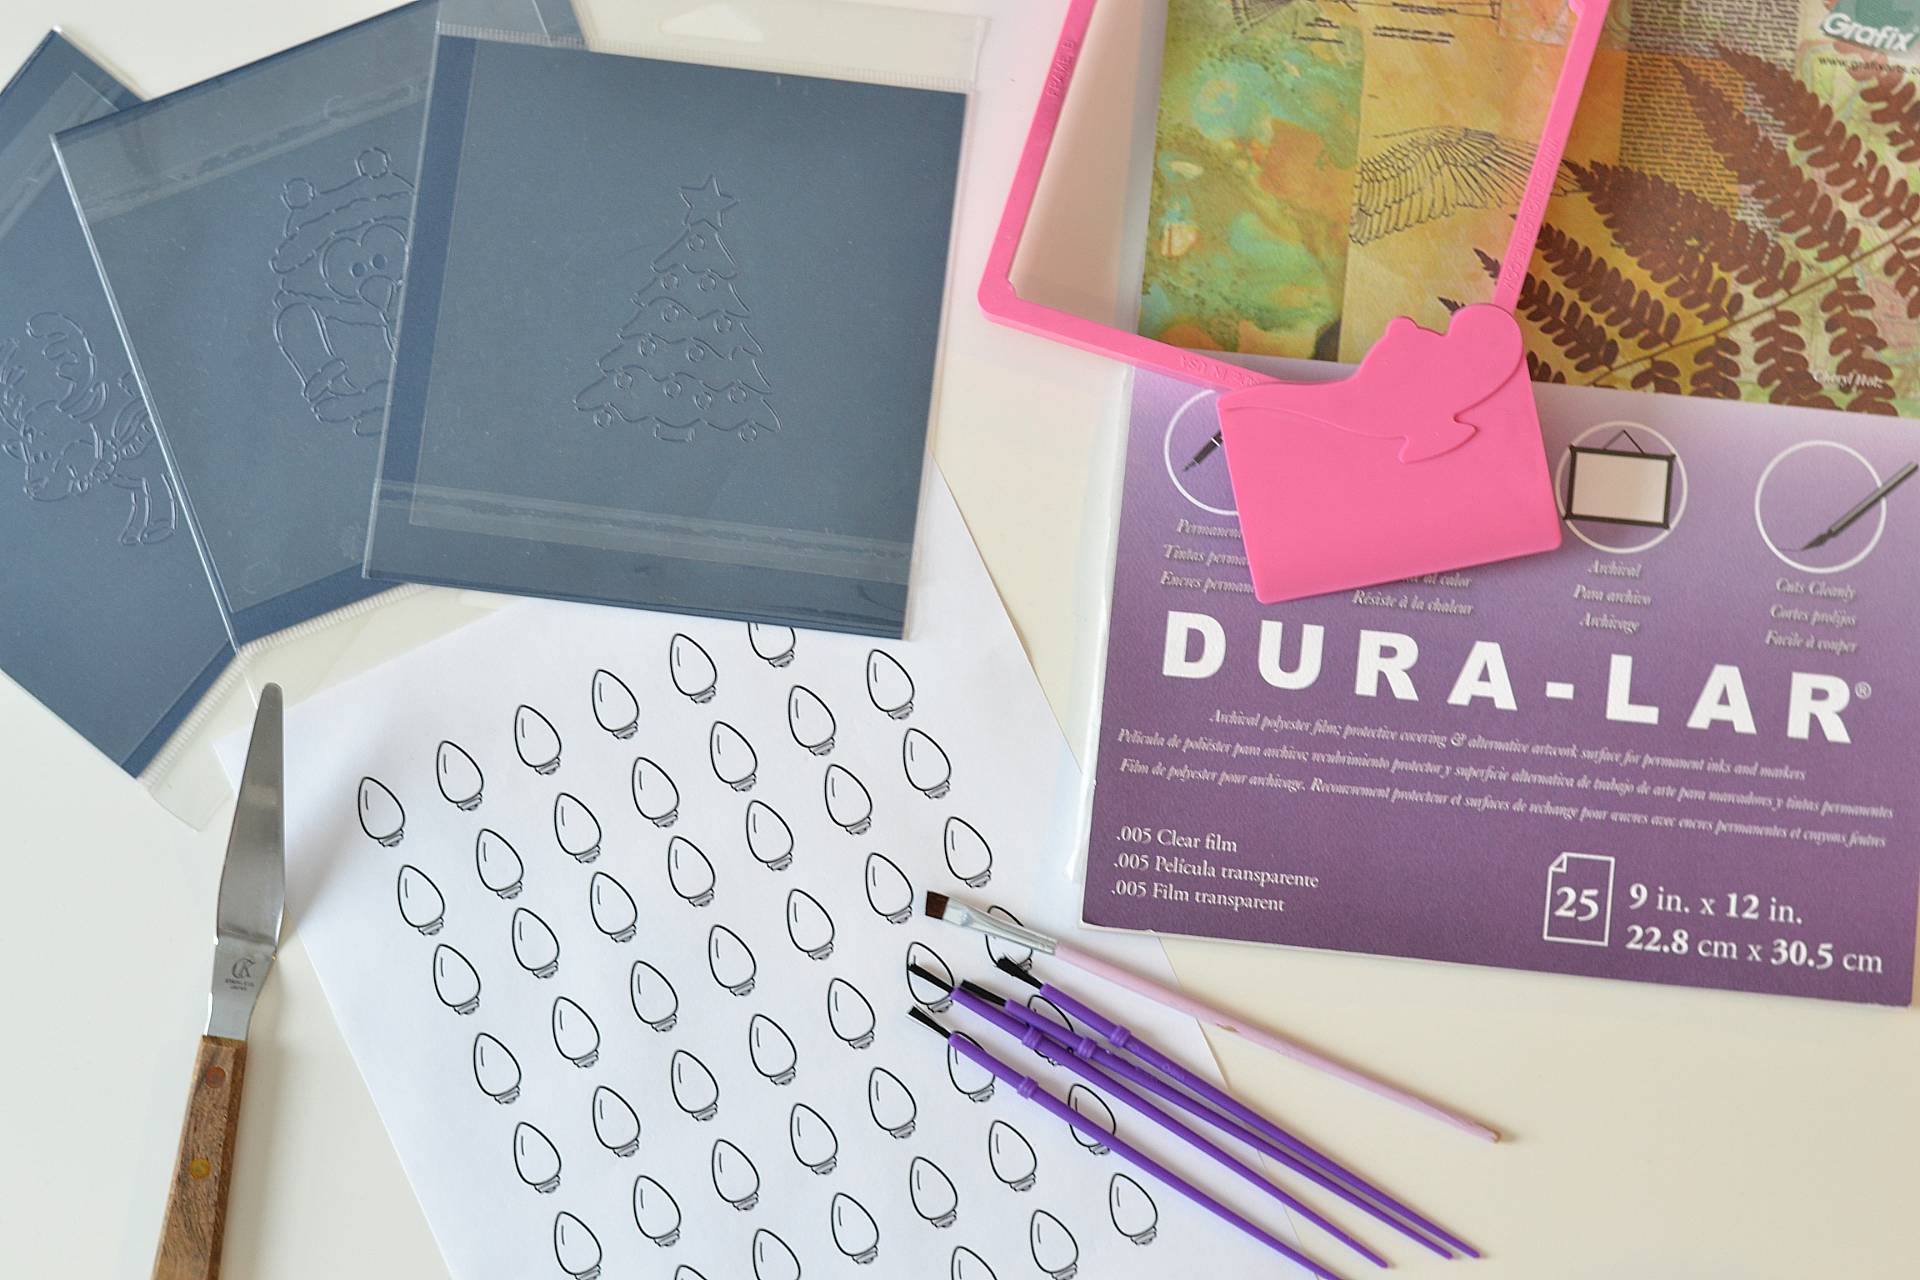
Acetate Paper (I use .005 acetate)
Light Bulb Template (optional)
Stencils (I sell them here!)
Wide Angled Paintbrush
Stencil Genie (optional, but recommended)
Small Spatula
Watercolor Paintbrushes
Polypropylene Bags (optional)
Instructions:
Step one: Using 15-20 second icing, outline and flood your cookie with white royal icing. Allow it to dry for at least 8 hours.
Step two: Make the royal icing transfers for the paint palette. I made a template of Christmas light shapes and placed that under a piece of acetate. Tape it to the table top so it doesn’t move. I piped enough light bulbs for each cookie to have 3-4 bulbs. Allow to dry at least 2 hours.
Step three: Using desired airbrush colors, paint each light bulb using a wide angled paintbrush to get maximum coverage. I used Americolor Super Red, Leaf Green, Lemon Yellow, Sky Blue, and Chocolate Brown for mine. Allow to dry another 2 hours or until not tacky to the touch.
Step four: Using black candy melts or black royal icing, stencil your images onto the cookie. Allow to dry at least an hour for royal icing. The candy melts set up pretty quick, so you don’t have to wait for them to dry.
***A note about black candy melts: I made mine with black candy melts, but next time I will use black royal icing. I had read that black royal icing can smear when the kids paint the cookie, making for a slightly marred looking final product before they eat it. So, I tried black candy melts instead. They stenciled beautifully, however, after they were packaged and customers were handling them, some of the images got smeared and smudged in the bag. The heat from warm hands handling them was enough to smear the picture. The black candy melts did NOT smear while painting the cookie, which is why I used them in the first place. In short, I think it’s more important that the cookie remain flawless BEFORE painting rather than AFTER painting, so next time I will use black royal icing which dries firm and won’t smudge in the bag.
Step five: After the light bulbs are dry, pop them off the acetate by bending the sheet or sliding a spatula under them. Using a very small dot of royal icing, glue the dried and colored light bulbs to the big cookie.
Step six: Using a tip #1.5 and egg yellow royal icing in leaf consistency, pipe ends on each of the light bulbs. This makes them look even more like a Christmas light! I just piped a squiggle back and forth that was shorter as I got further from the light bulb. Allow to dry 2 hours before packaging.
Step seven (optional): Cut the ends off the paintbrushes to make them shorter, so they fit inside the cookie bag. I used a wire cutter tool to do this. After cutting them, I used a lighter to melt and smooth the end of the paintbrush so it wasn’t jagged or sharp. Place the cookie and a paintbrush in the bag and heat seal them. They’ll last up to 2 weeks this way!

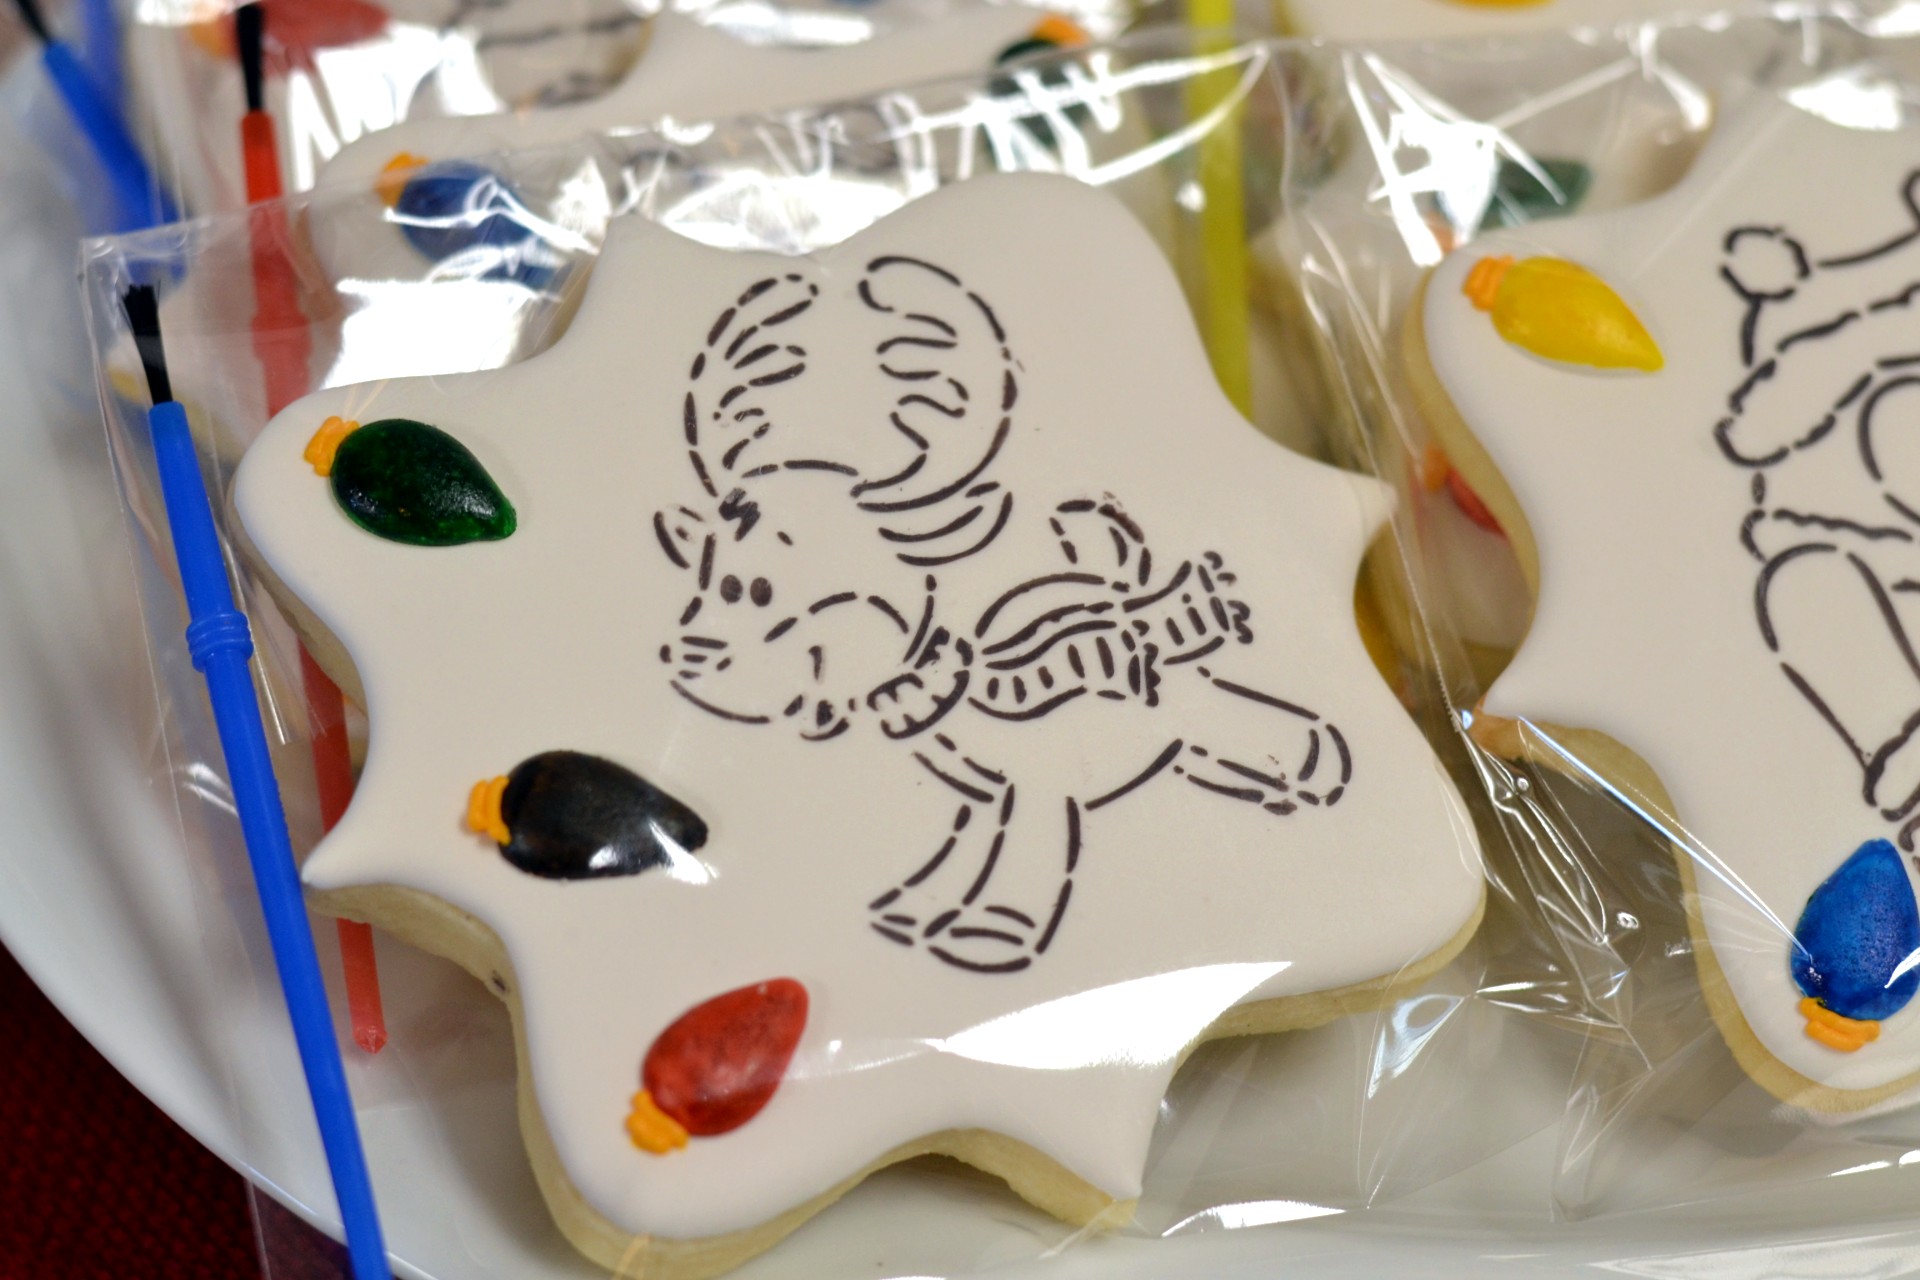
I love how they turned out and kids love that it’s an interactive treat! I will be making more in the Spring, so check my store for more stencils if you want to try them yourself. Or message me to order some pre-made by me!
- 4 lbs powdered sugar
- 10 Tb meringue powder
- 1½ tsp cream of tartar
- ⅛ tsp salt
- 1¼ C water
- ¼ C corn syrup
- 2 TB glycerin (or sub corn syrup-won't be as shiny when dry)
- 2 TB vanilla extract
- 1 tsp creme bouquet flavoring (optional)
- white gel food coloring
- additional gel food coloring, as desired
- extra water, to thin to desired consistency
- Mix dry ingredients in mixer on low with paddle attachment.
- In a large measuring cup, combine wet ingredients. While mixer is on, slowly poor wet ingredients into powder sugar mix.
- When powdered sugar is dampened, turn to level 8 on kitchenaid and let mix for 10 minutes. The royal icing should double in volume and look very white. It will be thicker than toothpaste.
- Thin with water to achieve desired flow. I use somewhere between 15-20 second icing for outlining and flooding. (Meaning it will take 15-20 seconds for the icing to flow back together and settle with no marks after you swipe a line through it). Portion out small amounts to make different colors.
- Store in an airtight container in the refrigerator for 2 weeks or in the freezer indefinitely.
