If you’ve never made salted caramel sauce at home, now is the time! This is one of those things that is SO easy to make you’ll be wondering why you’ve been buying it. And I’m not talking about making caramel sauce using store-bought caramels-that’s cheating not as tasty. I will share 2 key steps that will guarantee your caramel comes out silky smooth and doesn’t turn into a grainy mess.
Photo credit: Cooking Classy
Caramel, first of all, is burnt sugar. Unlike other cooked sugar treats, you do not need to have a candy thermometer to make it!
Supplies You Will Need:
Granulated Sugar
Water
Corn Syrup
Butter
Heavy Cream
Vanilla
Kosher Salt
A medium to large saucepan with a lid
A heat resistant spatula or wooden spoon
Thick or Thin?
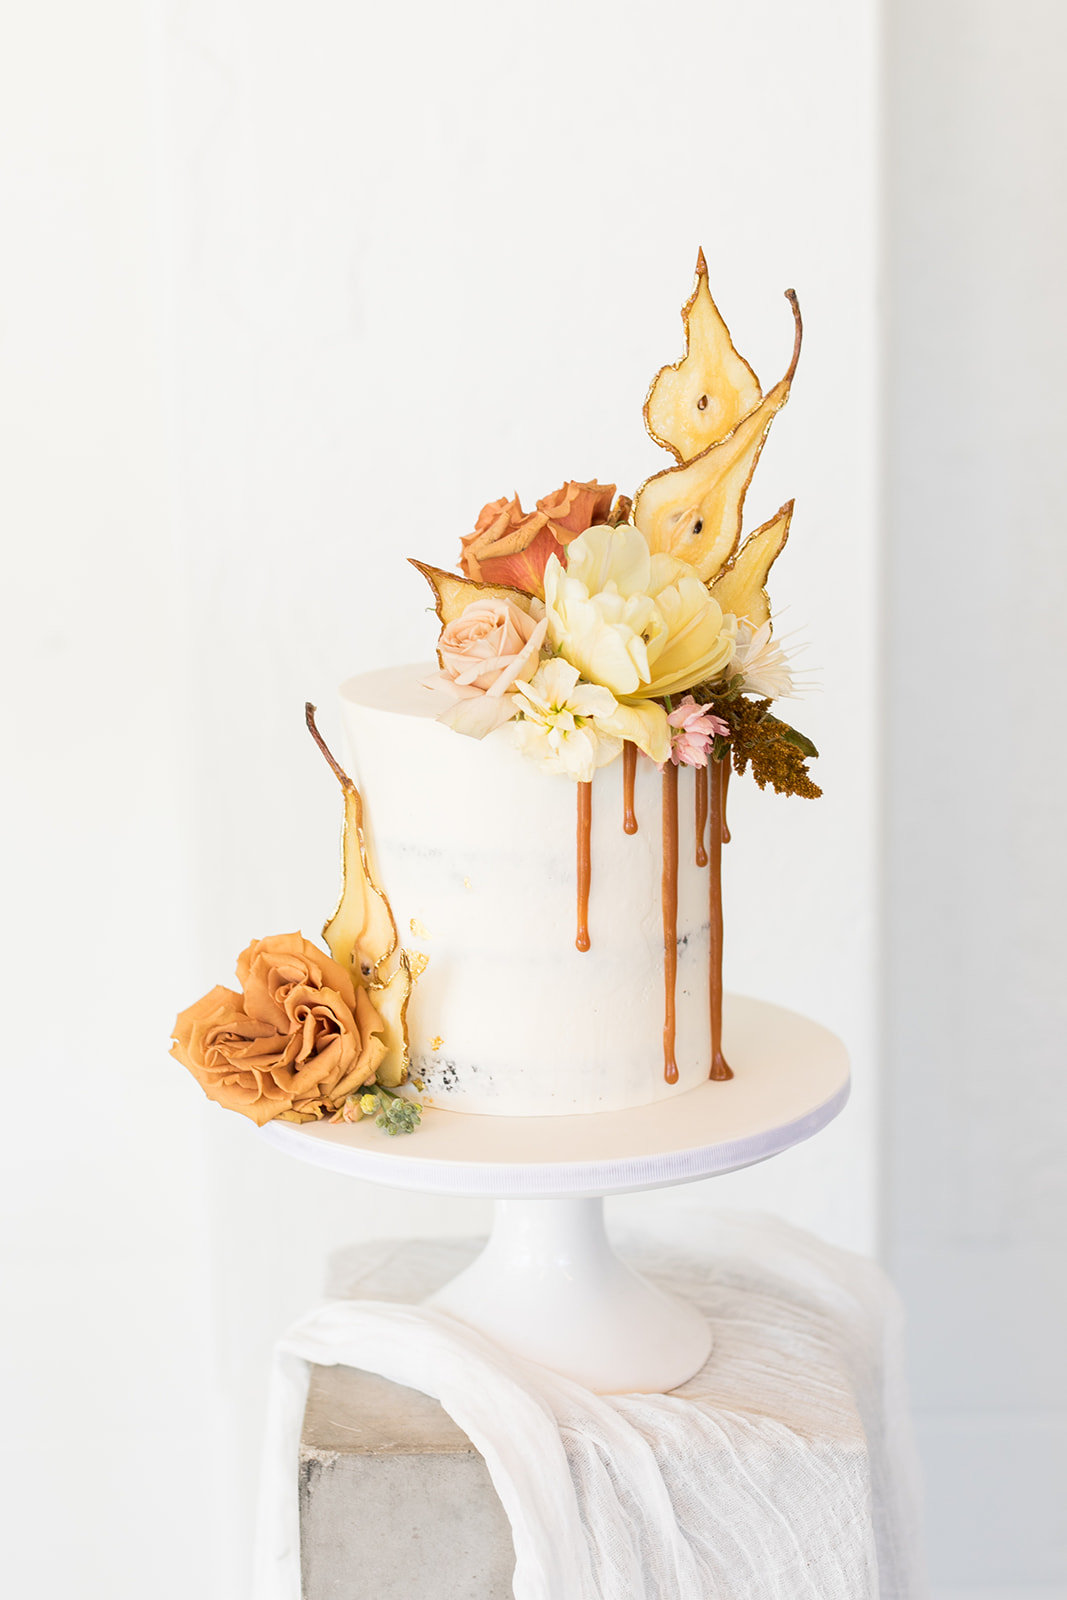
I love how versatile caramel is! If you wanted to make hard caramel suckers or candy, the method is the same, but you wouldn’t need to add the cream and butter. The cream will thin out the caramel, making it into caramel sauce. You can adjust how much cream you add, which will change the consistency of the caramel sauce. As written, this caramel sauce drizzles nicely, but will firm up in the fridge. I use it to drizzle on cupcakes, drip down the side of my cakes, and as an addition to cake filling. If you’re using it straight from the fridge, I recommend warming it slightly n the microwave (20-30 seconds) first. This will make it the perfect consistency for dripping or drizzling. This caramel sauce recipe is on the thick side, so it retains it’s drizzle shape and doesn’t leak out of my cakes or run too far down a cake. Again, if you want a thinner sauce, just add 2-4 more ounces of cream than the recipe states.
Depending on what you are using your caramel sauce for, you can adjust the amount of cream to achieve the desired consistency. Keep in mind, when it is finished straight from the stovetop it will appear VERY runny. It thickens as it cools. So don’t worry! If it looks too thin and you think you’ve messed it up, you haven’t! Just give it time. I like to pour it into a glass jar to store in the fridge. It can keep for up to a month in the refrigerator.

Two Secrets to Success
Have you ever tried to make caramel sauce, or any cooked sugar for that matter, and failed? I am going to share two things that are the secret to my success.
First, add corn syrup! I won’t go into all the science behind it, but I add corn syrup to my sugar to help stabilize the sugar crystals. Trust me, this is an easy step and one that will help you successfully make any type of cooked sugar.
Second, use a pan with a lid. There are a couple different ways of achieving the same result, but I prefer this one because it’s literally a ‘set it and forget it’ method. The purpose of using a lid is to allow condensation to build up on the inside of the pan. As the condensation builds, it will start to drip down. This will wash off the sides of your pan and take any stray sugar granules with it. Have you ever cooked sugar and it turned into a giant crystallized mess? When cooked sugar syrup comes in contact with even one tiny granule of sugar, a chain reaction begins. That one sugar granule will turn all your cooked syrup into a crystallized mass. This process is called seeding and it’s definitely something we want to avoid! Using a lid will ensure that every granule of sugar gets washed down into the bottom of the pan and gets melted. I’ve always had success with this method and I hope you will, too!

Caramel sauce can be used for cheesecakes, cupcakes, cake, as a snack with apples or pears, mixed into an apple pie, or just eaten with a spoon. Yum! Let me know if you try it out!
- 16 oz granulated sugar
- 4 oz water
- 1 oz (2 TB) corn syrup
- 16 oz heavy cream, warmed
- 1 tsp kosher salt, or more to taste
- 2 oz (4 TB) butter, unsalted
- 1 tsp vanilla extract
- Add sugar, water, and corn syrup to a medium to large saucepan (you'll need extra space for the caramel to rise and sputter when the cream is added). DON'T stir it together. Gently shake or wiggle the pan so all the sugar looks wet. Avoid getting sugar up the sides of the pan.
- Place the pan over medium heat and place the lid on the pan.
- Cook the sugar without stirring or adjusting the heat. Let it come to a boil. Condensation will start building up on the inside of the pan. This will wash any sugar particles that are stuck to the sides of the pan down into the rest of the sugar/water mixture. Leave the lid on until all the sugar looks melted.
- Remove the lid from the pan, but leave the pan on the stove. Allow the sugar to boil until it starts to turn a golden brown color. This can take 10-15 minutes. Once it starts to change color, keep an eye on it.
- I like to cook my caramel fairly dark, so I let it cook until all the bubbly sugar is deep amber in color. Sugar can burn quickly at this point, so don't let it cook too long. There is a fine line between caramel and overly burnt sugar.
- Meanwhile, warm the cream in the microwave for about 1 min. You want it to be slightly warmer than room temperature when you add it to the caramel.
- Once the sugar looks deep amber in color, remove the pan from the heat. Slowly pour in the warm cream. The sugar will sputter. hiss, and expand so watch out for steam burns! Stir the cream into the caramel until it looks incorporated.
- Add the butter. Stir until the butter is melted.
- Add the vanilla and salt. Stir to combine.
- Allow the caramel sauce to cool either in the pan or in a glass jar or bowl. It will be very hot and runny, so handle it carefully!
- Once cool, enjoy any way you choose! I reheat it for about 20 seconds if I'm using it for a drizzle.


